Suspect water inside a wall but can’t prove it? MoldGone inspects with a variety of tools, including meters, thermal imaging, and borescopes, across DC, Maryland, and Northern Virginia. Call 240.970.6533 or schedule an inspection.
There’s a stain on the ceiling. Or a musty smell in the basement that gets stronger near one wall. Or a baseboard that’s cupping slightly and you can’t tell whether that’s new.
The question is always the same: how far does it go?
You can’t answer that by looking. Drywall dries on the painted side long before the framing behind it does, so a wall can feel dry to your hand and be soaking wet an inch deeper. Here’s what the tools are, what each one measures, where each one lies to you, and how they combine into a map of where the water went.
The Short Answer
ToolWhat it measuresWhat it’s forWhere it failsPinless meterMoisture in a shallow zone below the surfaceFast scanning without marking anythingReads metal, foil facing, and wet material behind the targetPin meterResistance between two probes at a known depthConfirming a reading, checking depth, reading woodLeaves small holes, reads one spotInfrared cameraSurface temperature, not moistureFinding anomalies so you know where to meterInsulation gaps, pipes, and sun-warmed walls look like waterThermo-hygrometerAir temperature and relative humidityJudging whether a room supports growth or dryingDescribes the air, not the materialBorescopeVisual inside a cavitySeeing growth behind drywall without demolitionNeeds a small drilled hole, shows only what’s in frame
No single tool gives an answer. The answer comes from using them against each other.
Moisture Meters: Pinless and Pin
Two types, two jobs, and a good technician carries both.
Pinless meters press a sensor plate against the surface and read moisture through a shallow zone underneath. Nothing penetrates, nothing gets marked. That makes them the scanning tool: sweep the meter across a wall and watch the number climb as you approach wet material. You can cover a whole basement wall in minutes and find the boundary of a wet zone without putting a hole in anything.
The weakness is that a pinless meter is not selective. It responds to whatever conductive or dense material sits inside its sensing depth, so foil-faced insulation, a metal stud, or a pipe can spike a reading that has nothing to do with water. It also can’t tell you whether the moisture is in the drywall or the framing behind it. It just says “something in here is wet.”
Pin meters drive two probes into the material and measure electrical resistance between them. Water conducts, dry material doesn’t, so resistance drops as moisture rises. Because the probes go to a known depth, the reading is specific to that depth and that spot.
That makes pins the confirmation tool. Scan with pinless, find an anomaly, verify with pins. Insulated and deep-wall probes let a technician read the framing rather than the drywall, which matters because wet studs and bottom plates are what turn a cosmetic repair into a real one.
The practical split: pinless finds it, pins prove it.
What an Infrared Camera Actually Sees
This is the most misunderstood tool in the industry, so let’s be plain.
A thermal camera does not see water. It sees temperature.
There is no such thing as an infrared camera that detects moisture. What it detects is surface temperature difference, rendered as a color image. Wet materials usually read cooler than the dry material around them for two reasons: evaporation pulls heat out of a surface as water leaves it, and wet material moves heat differently than dry material does.
So the camera doesn’t find water. It finds a cold spot, and a cold spot is a reason to put a meter on that exact place. A blue plume spreading up a wall is a lead, not a conclusion. It becomes a conclusion when a meter confirms elevated readings inside the plume and normal readings outside it.
What the camera is genuinely good at is covering large areas fast and revealing the shape of an intrusion. A ceiling stain the size of a dinner plate routinely sits at the bottom of a wet area several feet across.
Where Thermal Imaging Gets It Wrong
Honest use of the tool means knowing what fools it. Common false positives:
- Missing or settled insulation. A gap in a wall cavity reads cooler than the bays around it, and on a cold day it looks a lot like a wet zone.
- Plumbing runs. A cold water line inside a wall shows as a vertical cool stripe. So does the supply to an exterior hose bib. Neither is a leak.
- Sun-warmed surfaces. An exterior wall that sat in afternoon sun creates patterns that swamp any real moisture signal. Shading and thermal bridging at studs do the reverse.
- Supply ducts in a ceiling or floor cavity read cold while the system runs, and drafts around a rim joist make cool patterns from moving air.
False negatives happen too. If the material has equalized to room temperature, or there’s no temperature difference across the assembly to work with, the camera shows nothing while the cavity is still wet.
Hence the rule: nothing gets called wet on a thermal image alone.
Hygrometers and the Air in the Room
A thermo-hygrometer reads air temperature and relative humidity. It describes conditions rather than materials, and conditions decide two things: whether the space supports mold growth, and whether it can dry.
Materials exchange moisture with the air around them. Wet drywall in a humid, still basement stays wet, because the air has no capacity left to take moisture on. The same drywall in dry, moving, dehumidified air releases it. That’s the theory behind structural drying, and it’s why “we opened a window” so often makes a Mid-Atlantic basement worse in July instead of better.
Readings get taken inside the affected area, in an unaffected area, and outside. That comparison tells you whether the problem area is wetter than baseline or whether the whole house is sitting humid, which is a different problem with a different fix.
DMV note: Ambient readings matter more here than in most of the country, because summer humidity in the DMV is persistent rather than occasional. Below-grade space makes it worse. Finished basements in suburban Maryland split-levels and vented crawl spaces across Northern Virginia stay cool, so warm humid air moving into them cools toward its dew point and gives up moisture onto framing, ductwork, and cold surfaces. DC and Baltimore row homes add a wrinkle, since a shared party wall with no side ventilation dries slowly and hides a moisture path between units. In all three, the ambient reading is often the finding itself.
Borescopes: Looking Inside Without Opening Up
Meters tell you material is wet. A borescope tells you what’s happening in there.
It’s a small camera on a flexible probe that goes through a hole roughly the diameter of a pencil, drilled low on a wall or behind a baseboard where it patches invisibly. On screen you get the back of the drywall, the insulation, and the framing.
That’s how you separate “this wall got wet” from “this wall got wet and there’s growth on the paper backing.” Those lead to very different scopes of work, and the difference used to require cutting the wall open.
Moisture Mapping: What Makes the Numbers Mean Something
This is the piece most people never hear about, and it’s what turns readings into an answer.
A meter number by itself means very little. Drywall, plaster, framing lumber, OSB, hardwood, and concrete all carry different normal moisture content, and the same material varies by house, by season, and by where it sits. A reading of “18” is meaningless in isolation.
So the first thing a technician does is establish a dry standard. Find unaffected material of the same type in the same building, ideally the same room, and read it. That’s this home’s baseline for this material under today’s conditions.
Everything after is comparison. Readings inside the suspected area get taken against that standard, at intervals, in a grid, and the boundary is drawn where readings return to baseline. That’s moisture mapping: not one reading, but a documented pattern that defines a perimeter.
It means less demolition. When you know where the water stopped, you cut there. Without a map, the safe move is to cut generously and hope you got it all, which removes material that was never wet.
It also proves the job is done. The same dry standard that defined the scope verifies the drying. Materials get re-read against baseline as the work goes, and “dry” stops being an opinion.
The Sequence on a Real Inspection
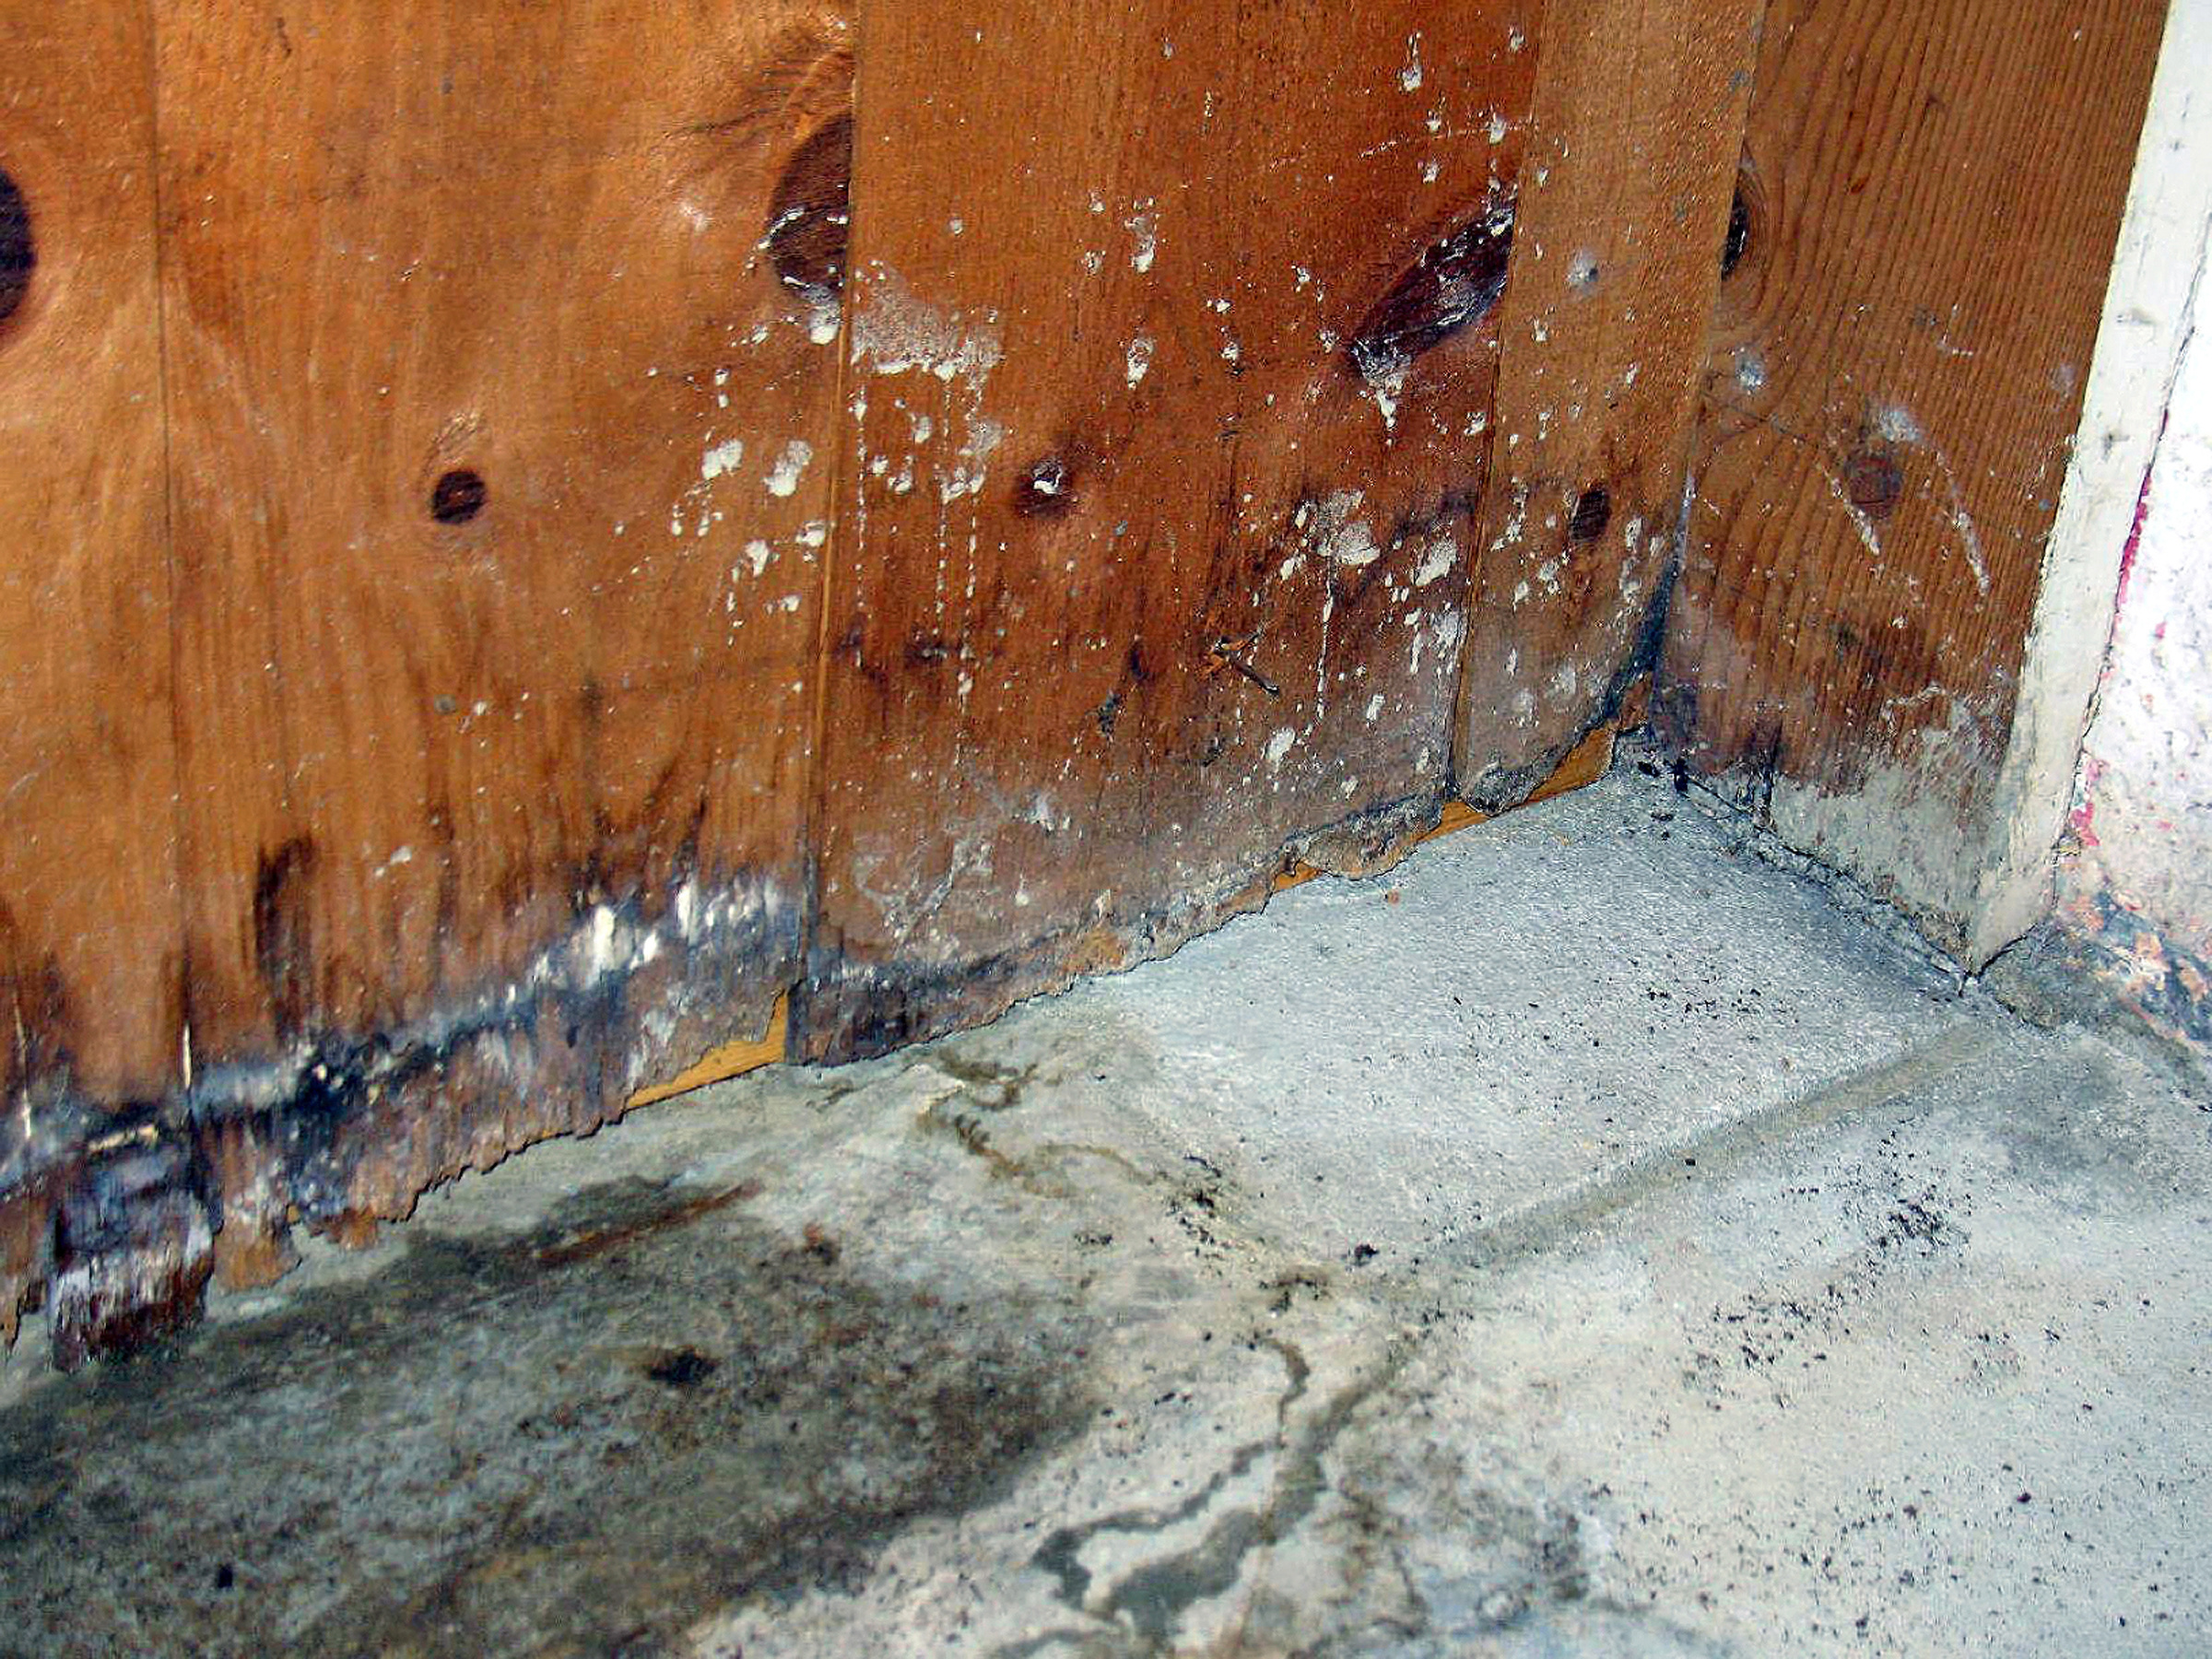
- Walk it. Staining, cupping, efflorescence, rusted fasteners, where the smell is strongest.
- Take ambient readings inside, in an unaffected area, and outside.
- Establish the dry standard for each material type in play.
- Scan with thermal to find anomalies and see the shape of the intrusion.
- Meter every anomaly, pinless to bound it, pins to confirm depth and framing.
- Borescope where readings justify a look inside the cavity.
- Map the perimeter and document it with photos, thermal images, and readings.
- Trace it to the source.
That last step is the one that gets skipped, and it’s half the diagnosis. A wet basement wall can originate at a gutter three stories up, a grading problem outside, or condensation on an uninsulated duct overhead. The map tells you where the water ended. The inspection tells you where it began.
The Bottom Line
Moisture meters measure moisture. Thermal cameras measure temperature, not water, and exist to tell you where to point the meter. Hygrometers describe the air it’s all sitting in. Borescopes let you look inside a wall through a hole you can patch with a dab of compound. None of them is the answer alone.
The answer is the method: establish what dry looks like in this house, map the wet area against it, confirm every thermal anomaly with a meter, and trace the water back to why it’s there. Do that and you cut where the water went instead of where you assume it went. Skip it and you’re either tearing out more than you needed to or leaving wet material inside a wall, in a region where summer air will never help you dry it.
MoldGone inspects, tests, and remediates across DC, Maryland, and Northern Virginia, from the first moisture survey through removal and post-remediation verification, with one company accountable for all of it.
Think there’s water in a wall and want it found before it becomes mold? Call MoldGone at 240.970.6533 or schedule an inspection.
Methodology described here follows general industry practice consistent with IICRC standards for water damage restoration and mold remediation, and EPA guidance on moisture and mold in buildings. Instrument capabilities and sensing depths vary by manufacturer and model. Any specific situation requires on-site assessment.